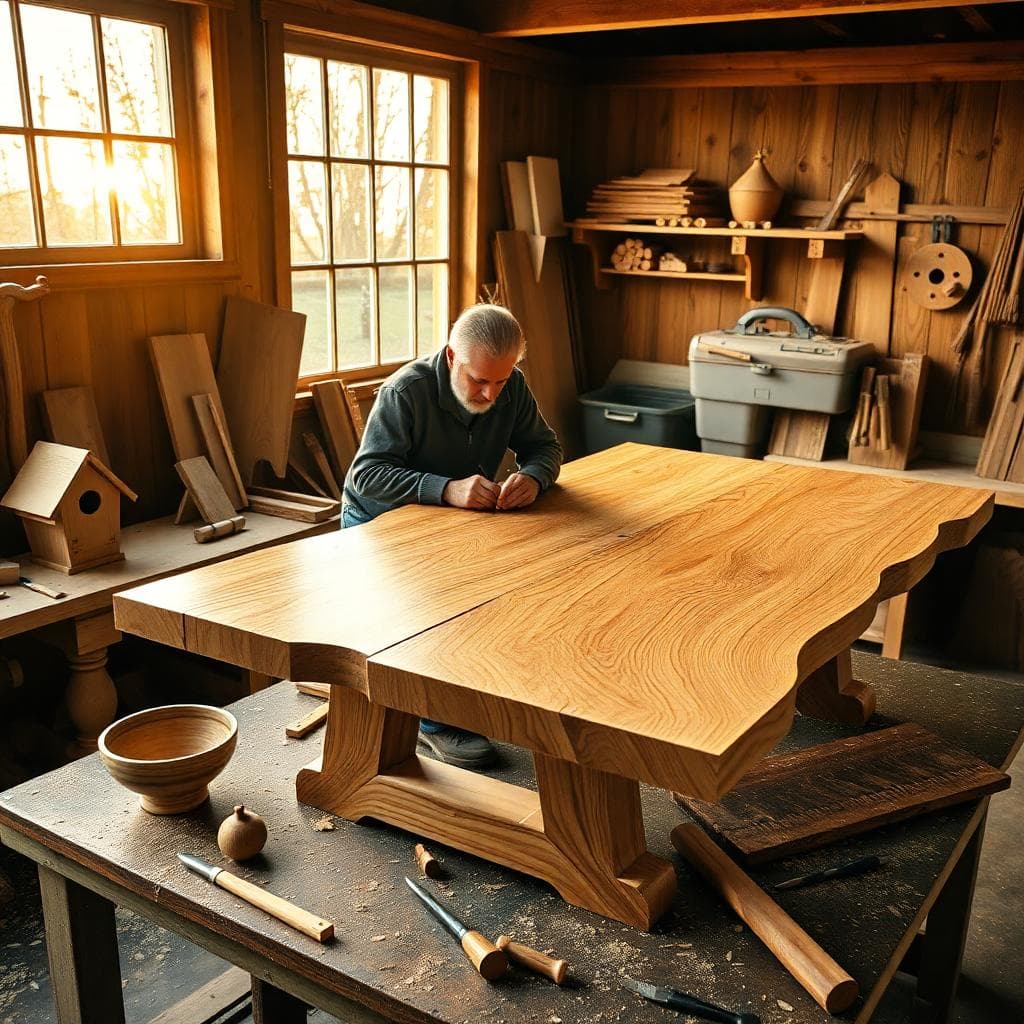
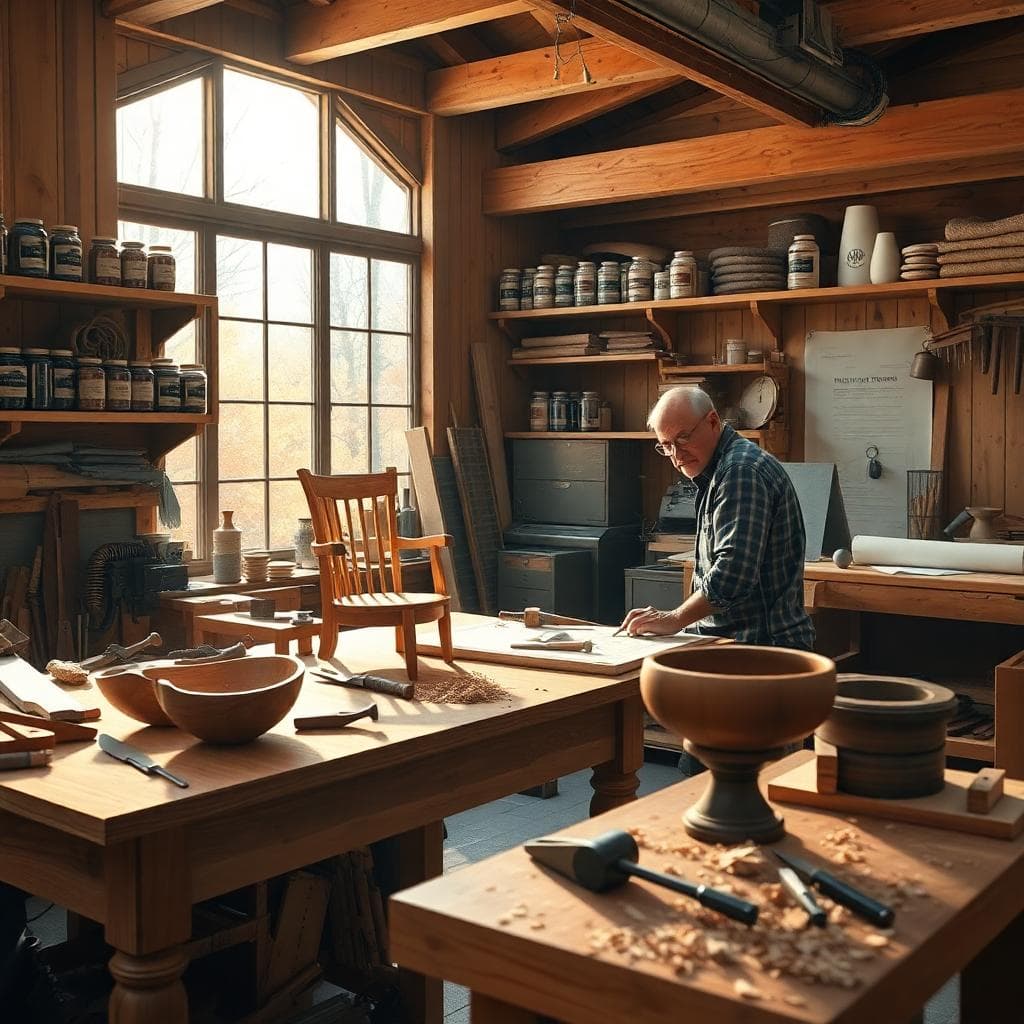
If you want a hands-on way to improve your home, woodworking projects are a smart place to start. You can build custom storage, simple decor, and useful furniture for far less than retail. You also build practical skills you can use for years.
This guide shows you how to get started with weekend builds, then step up to intermediate pieces that look clean and last. You will see clear steps, low-cost material options, and safety tips you can trust. Most projects use basic tools you may already own, like a drill, circular saw, and sander.
By the end, pick one project that fits your space and your time. Make it simple, finish it, and enjoy using it every day.
Beginner woodworking projects you can finish in a weekend
Start small and keep it simple. These woodworking projects teach core skills without a big tool budget or long timeline. You will use common boards, screws, glue, and simple finishes. The goal is a quick win that builds confidence.
Tools and materials checklist for beginners
- Tape measure, speed square, and pencil
- Circular saw or handsaw, drill/driver with bits
- Clamps, wood glue, screws
- Sanding block or random-orbit sander
- Safety glasses, hearing protection, dust mask
- Sandpaper grits: 80, 120, 180, 220
Practice with pine, poplar, or plywood. You can borrow tools from a friend or a community shop, or buy used to save money.
Choose the right wood for simple builds
Pick straight boards by sighting down the length, then check for bow, cup, and twist. Look at the end grain for tight, even lines, and avoid boards with pith or cracks. Skip large or loose knots where screws or joints land, and pass on pieces with splits along the edge. Learn nominal sizes versus actual dimensions. For example, a 1×4 is 3/4 by 3.5 inches, and a 2×2 is 1.5 by 1.5 inches.
Use pine or poplar for paint-grade parts, choose oak or maple for high-wear pieces, and pick cedar for outdoor use. Avoid pressure-treated lumber indoors. For shelves, use flat 3/4 inch plywood with tight plies and minimal voids, cabinet grade if the budget allows.
Let wood rest in your home for 24 to 48 hours so it adjusts. Stack boards with small spacers for airflow, ideally in the room where the piece will live.
Step-by-step: 4 easy builds to learn core skills
- Cutting board (skill: sanding and finishing)
- Measure and cut a board to size, 2) round edges with a sander, 3) sand to 220 grit and apply food-safe oil.
- Cost: $15 to $25, Time: 2 to 3 hours.
- Floating shelf (skill: drilling clean, straight holes)
- Rip or buy a pre-cut board, 2) drill for hidden brackets, 3) mount level on the wall.
- Cost: $20 to $35, Time: about 2 hours.
- Planter box (skill: measuring and square assembly)
- Cut sides to length, 2) screw or nail the box together, 3) seal the inside.
- Cost: $10 to $20, Time: about 2 hours.
- Birdhouse (skill: pre-drilling to prevent splits)
- Cut panels to size, 2) pre-drill holes, 3) assemble with screws.
- Cost: $10 to $15, Time: about 3 hours.
Safety first and common mistakes to avoid
Wear safety glasses, hearing protection, and a dust mask or respirator when you cut or sand. Clamp your stock to a stable surface and use a sacrificial backer to reduce tear-out; keep hands clear of the blade. Measure twice from the same reference edge, mark the waste side, and pre-drill pilot holes, adding a countersink in hardwood to prevent splits. Sand with the grain using light pressure, stepping through grits for a smooth surface. Do not rush glue-ups; dry fit first, set clamps and cauls before glue, then tighten evenly and wipe squeeze-out while it is soft. Remember the blade removes material, so account for kerf, about 1/8 inch on many blades, and cut on the waste side of your line. Unplug tools before blade or bit changes.
Intermediate woodworking projects to upgrade your home and skills
When you are ready to level up, choose woodworking projects that add storage and style. You will practice stronger joinery, cleaner layout, and better finishing. The goal is a pro look with friendly methods.
Better joinery made simple (pocket holes, dowels, dados)
Use pocket holes for quick frames and cabinet boxes. They are fast and strong when placed on hidden faces. Choose dowels when you want clean edges with hidden strength. Dados are grooves that lock shelves in place and stop sagging. Basic tools include a pocket hole jig, a dowel jig, and a router or table saw for dados. Test each joint on scrap wood before the real build.
Project ideas by room: living room, kitchen, entryway
- Coffee table with a sturdy base, one weekend. Skills: miter cuts and pocket screws. Upgrade: solid feel and clean lines.
- Simple bookshelf or media console, one to two weekends. Skills: dados and shelf spacing that prevents sag. Upgrade: stable shelves that do not bow.
- Kitchen utility cart or wall pot rack, one weekend. Skills: strong joinery and tidy layout. Upgrade: mobile storage or clear counter space.
- Entryway storage bench with a hinged lid, one to two weekends. Skills: accurate box building and lid hardware. Upgrade: hidden storage and a place to sit.
Measure and layout like a pro
Mark a face side and a face edge on every board, then measure from those references only. A simple story stick (a scrap with knife lines) transfers repeated measurements without drift, which beats re-reading a tape for every part. Plan for the saw kerf on your cut list, about 1/8 inch on many blades, and label parts as you cut using painter’s tape so marks do not sand off. Dry fit assemblies before glue, check for square, shim or plane if needed, and set your clamp plan while everything is still clean. On plywood, lay painter’s tape over the cut line, score the line with a sharp knife, and use a backing board to support the exit side to reduce tear-out. If you prefer measuring each piece, you can, but a story stick keeps parts consistent and avoids cumulative error.
Sanding, finish, and glue-up tips for a clean look
Follow a simple sanding schedule: 120, 150, 180, 220. Wipe-on poly or oil gives reliable results with minimal tools. If you use water-based finishes, raise the grain with a damp cloth, then sand lightly. For glue-ups, set clamps and cauls first, then spread glue evenly. Clean squeeze-out while it is soft. Let the piece cure to the label’s time before use.
Plan, budget, and find free plans for woodworking projects
Good planning saves time and money. You can sketch, price materials, and source clear plans before you buy a single board. This section gives you simple steps to start strong with woodworking projects of any size.
Sketch, cut list, and build timeline
Sketch on graph paper or use a simple app. Create a labeled parts list with thickness, width, and length. Plan your order of cuts and assembly. Group similar cuts and optimize boards to reduce waste. Add buffer time for glue and finish to dry. Mark milestones, like cut day, assembly day, and finish day.
Budget smart: lumber, hardware, and finishes
Price materials by category, then add 10 to 15 percent for mistakes. Save money by buying construction lumber and milling it flat. Check the cull rack for discounted boards. Use offcuts for small parts, spacers, or test pieces. Choose water-based finishes to cut cleanup costs. Track every item in a simple spreadsheet so you stay on target.
Where to get free woodworking project plans
Look to public libraries, community makerspaces, and university extension sites. Search reputable how-to websites or channels with clear build guides. A good plan includes a full cut list, tool list, exploded drawings, and step-by-step photos. Read comments or reviews to spot build notes and tweaks before you start.
Shop greener: reclaimed wood and safer finishes
Use reclaimed wood from architectural salvage or thrifted furniture. Avoid pallets and treated lumber indoors. Look for FSC-certified lumber and low-VOC finishes for cleaner air. Always scan reclaimed boards with a magnet or metal detector to avoid hidden nails.
Conclusion
You now have a path that starts with quick wins, moves into solid intermediate builds, and stays efficient through smart planning. With the right woodworking projects, you can save money, learn real skills, and make pieces that fit your home. Choose one beginner build today. Write a short cut list, aim to finish all cuts on Saturday, then sand and wipe on finish Sunday. Share your progress, ask questions if you get stuck, and enjoy the process every time you pick up a tool.


BÀI VIẾT LIÊN QUAN
Woodworking Projects that Save Money and Build Real Skills (With Simple Weekend Plans)
Woodworking Projects that Save Money and Build Real Skills (With Simple Weekend Plans)
Woodworking Projects that Save Money and Build Real Skills (With Simple Weekend Plans)
💡 Nhà phân phối đèn LED ESNCO tại Thành phố Hồ Chí Minh – Giải pháp chiếu sáng thông minh, tiết kiệm và lâu dài 🌟
Woodworking Projects that Save Money and Build Real Skills (With Simple Weekend Plans)
Phụ kiện nhựa nội thất công nghiệp: Ứng dụng
Khám phá quy tắc ba điểm chạm trong hành động giá
Trực tiếp Xổ Số Hồ Chí Minh — Quy trình dò số, xác minh kết quả và hướng dẫn nhận thưởng an toàn